
The dust has finally settled, the contractors have packed up their tools, and your newly remodeled space is ready to be enjoyed. But before you can start arranging furniture and admiring your new finishes, you have to tackle the mess. Post-renovation cleanup is a crucial step that protects your investment, ensures the health of your household, and restores the functionality of your home.
Without a proper plan, homeowners often face lingering construction dust, stubborn paint splatters, leftover debris, and lingering chemical odors. Whether you have just finished a minor bathroom update or a whole-house overhaul, cleaning after remodel projects requires a systematic approach. These best practices not only help homeowners but also serve as excellent cleaning tips for contractors who want to hand over a spotless, move-in-ready property to their clients. Let’s break down exactly how to get your home back in pristine condition.
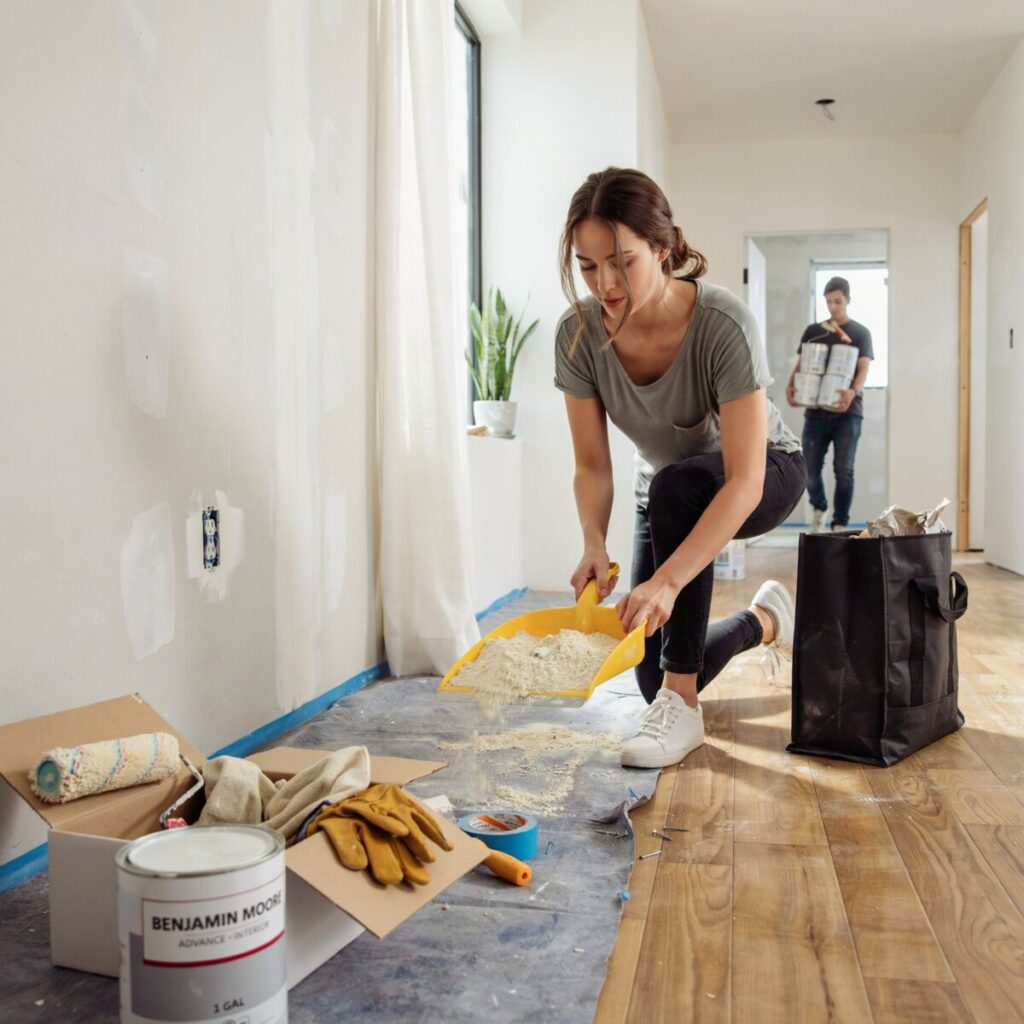
Immediate Steps on Days 0–2: The Pre-Clean Plan
Before you grab a mop, you need a strategy. The first 48 hours are all about preparation and safety. Start by maximizing ventilation. Open windows and doors to let fresh air circulate, helping to dissipate volatile organic compounds (VOCs) from fresh paint, caulking, and adhesives.
Next, gear up. Personal protective equipment (PPE) is non-negotiable. Wear N95 masks to guard against fine particulates, heavy-duty work gloves, and safety goggles. Unplug power tools and ensure electricity is safely managed, especially in wet areas like kitchens and bathrooms.
Conduct an initial walkthrough. Identify potential hazards like exposed nails, broken glass, or unstable structures. Note which surfaces require special care, such as newly installed engineered hardwood, natural stone countertops, or freshly painted walls. For effective dust containment, set up reusable protective covers over any remaining furniture. If the renovation is only partially complete, use zip walls or plastic sheeting to seal off the work zone. Close HVAC vents in the remodeled area to prevent dust from circulating through your ductwork, and consider running portable air scrubbers to capture airborne particles.
Debris Removal and Bulk Cleanup (Days 1–3)
With the prep done, it is time to focus on heavy-duty debris removal. This phase involves clearing out large trash, scrap materials, and packaging.
Segregate your waste. Keep recyclable materials like cardboard, untreated wood, and metal separate from general trash. More importantly, identify household hazardous waste (HHW), such as leftover paint cans, solvents, adhesives, and batteries. For the safe disposal of construction waste, check your local US municipal guidelines. Many cities offer specific drop-off days for HHW or have designated transfer stations. If you have a massive amount of debris, renting a roll-off dumpster is highly convenient, though it typically costs between $300 and $600 depending on your location and size. For smaller jobs, hauling bags to a local transfer station is more economical.
Essential tools for bulk cleanup:
- Heavy-duty contractor bags (3 mil thickness or higher)
- Thick, puncture-resistant work gloves
- A pry bar or cat’s paw for pulling stray nails
- A heavy-duty push broom and large dustpan
- A wet/dry shop vac for heavy debris
Pro Tip: Avoid using your standard household vacuum for large debris, as drywall chunks and nails can easily clog the hose or sustain severe motor damage.
Dust Removal and Air Quality (Days 2–5)
Construction dust removal is often the most tedious part of the process, but it is vital for your health. Construction dust isn’t just dirty; it can be dangerous. It often contains fine silica particles, and in older US homes, it may harbor lead or asbestos. It is also a major trigger for allergies and respiratory issues.
To maintain good air quality after renovation, start with your HVAC system. An immediate HVAC filter replacement is mandatory. Upgrade to a high-MERV filter (MERV 11 to 13) to trap finer particles, and consider having your ductwork professionally cleaned if the dust was extensive. When vacuuming, always use a vacuum with HEPA filter capabilities. Standard vacuums often just blow fine dust back into the air, defeating the purpose.
Follow this strict top-to-bottom dusting order:
- Ceilings and Fixtures: Dust ceiling fans, light fixtures, and crown molding first.
- Walls and Windows: Wipe down walls, window sills, and blinds.
- Furniture and Built-ins: Clean shelves, cabinets, and countertops.
- Floors and Baseboards: Finish with the floors to catch everything that falls.
Use microfiber cloths that trap dust rather than spreading it. For ultra-fine dust on wood surfaces, use a tack cloth. Remember to wipe surfaces with a slightly damp microfiber cloth rather than dry dusting, which just moves the dirt around. To further improve air quality, keep windows open when weather permits, run your HVAC system with a fresh-air intake, and consider using an indoor air quality meter to monitor particulate levels. While houseplants are lovely, rely on them only as temporary, minor aids for air purification.
Surface-Specific Cleaning Techniques (Days 3–7)
Now it is time for deep cleaning after renovation. Every material requires a specific approach to avoid damage.
Floors: Flooring cleanup after remodel projects varies by material. For tile, sweep and mop with a pH-neutral cleaner. For grout and grout haze removal, use a specialized haze remover and a non-abrasive scrubbing pad, avoiding acidic cleaners that can etch the grout. For hardwood and laminate, avoid excess water. Sweep thoroughly, vacuum with a hard-floor setting, and use a manufacturer-approved wood cleaner. Never steam-mop new hardwood, as the heat and moisture can ruin the finish.
Walls and Ceilings: Paint splatter removal requires patience. Use a plastic putty knife to gently scrape off dry drops. For stubborn spots on dried paint, use a razor blade at a low angle or a specialized paint remover, but always spot-test in an inconspicuous area first. Wipe walls with a damp sponge and mild dish soap.
Cabinets and Countertops: Countertop and cabinet cleaning should involve gentle, non-abrasive cleaners. For natural stone like granite or marble, use a stone-specific cleaner and reseal the surface if the contractor did not do it. Wipe down the inside of new cabinets with a damp cloth and dry immediately to prevent warping.
Windows and Glass: Window and glass cleaning after renovation can be tricky due to paint droplets and drywall dust in the tracks. Use a razor scraper for glass paint spots, and vacuum the tracks before wiping them down. Finish with a high-quality glass cleaner and a squeegee or lint-free microfiber towel for streak-free results.
Fixtures and Hardware: Polish metal finishes with a soft cloth and appropriate metal polish. Disinfecting after remodel work is essential, especially in kitchens and bathrooms. Use an EPA-registered disinfectant on high-touch surfaces like cabinet pulls, appliance handles, and light switches to ensure the space is truly safe.
Example Scenario: 7-Day Kitchen Remodel Cleanup Timeline
Let’s look at a real-world example and a sample cleanup timeline after renovation. Imagine you just finished a kitchen remodel featuring new shaker cabinets, quartz countertops, and a ceramic tile backsplash.
- Day 1 (4 hours, $0-$50): Haul away cardboard and bulk debris. Sweep large dust piles into heavy-duty bags.
- Day 2 (3 hours, $20-$40): Change HVAC filters. Wipe down cabinet interiors. Vacuum all floors and surfaces with a HEPA filter vacuum.
- Day 3 (5 hours, $30-$60): Tackle grout and grout haze removal on the backsplash and floors. Remove paint splatters from walls.
- Day 4 (4 hours, $0): Deep clean quartz countertops, the sink, and appliances. Wash windows and wipe down window tracks.
- Day 5 (3 hours, $0): Dust light fixtures, the tops of cabinets, and walls. Disinfect high-touch areas and hardware.
- Day 6 (2 hours, $0): Final floor mopping using a pH-neutral cleaner. Polish cabinet hardware and faucets.
- Day 7 (2 hours, $100-$200): Final walkthrough cleaning, moving furniture back, and styling the space.
Total Estimated DIY Cost: $150 – $350 for supplies, filters, and rentals.
Total Time: ~23 hours spread over a week.
Special Situations and Safety
Sometimes, renovations uncover hidden dangers. If you discover suspected lead paint, asbestos insulation, or active mold during or after demolition, stop work immediately. These require licensed abatement professionals to handle safely according to EPA guidelines.
Protect your new finishes during the final stages. Avoid abrasive cleaners on sealed surfaces, quartz, or high-gloss paints. Always ensure the safe disposal of leftover chemicals. Never pour paint thinners, solvents, or excess paint down the drain or into the storm sewer. Contact your local waste authorities for guidance on dropping off household hazardous waste.
When to Hire Professionals
DIY post-renovation cleaning is highly rewarding, but it isn’t always feasible. You should consider calling in professional post-construction cleaners if you have a large-scale whole-home remodel, lack the physical ability to do heavy lifting, or if the dust has permeated every room of your house.
Signs it’s time to call a professional:
- The renovation involved removing load-bearing walls or extensive drywall work.
- You have severe allergies or asthma.
- The home is over 2,500 square feet and was fully gutted.
- You simply do not have the time or energy to dedicate 20+ hours to cleaning.
Professional services typically charge between $0.50 and $1.50 per square foot, meaning a 2,000-square-foot home might cost $1,000 to $3,000. What do you get for that price? A comprehensive, multi-phase cleaning that includes heavy debris removal, detailed dusting, window washing, and a flawless final finish. They bring commercial-grade equipment, specialized cleaning solutions, and a team that can finish the job in a single day. If your HVAC system is heavily clogged, hiring a professional duct cleaning service (typically $300–$500) is also a wise investment.
Final Walkthrough and Maintenance
The final walkthrough cleaning is your last chance to catch imperfections before you fully settle in. Use a post-construction cleaning checklist to inspect every corner. Open and close all windows, test every appliance, check for scratches on new floors, and ensure all outlets are working.
Once the house passes your inspection, reinstall all vent covers and return your furniture. For the first 30 to 90 days, continue to monitor dust levels. Run your air purifier, change your HVAC filter after the first month, and vacuum frequently to capture any lingering particles that settle out of the air.
Your Downloadable Checklist and Supplies List
Post-Construction Cleaning Checklist
- [ ] Remove all bulk debris and construction trash
- [ ] Dispose of household hazardous waste safely
- [ ] Replace HVAC filters (use high-MERV)
- [ ] Vacuum all surfaces with a HEPA filter vacuum
- [ ] Dust ceilings, light fixtures, and crown molding
- [ ] Wipe down walls, baseboards, and doors
- [ ] Clean inside and outside of all cabinets and drawers
- [ ] Remove paint splatters and adhesive residue
- [ ] Clean and polish all windows, glass, and mirrors
- [ ] Treat grout haze and mop hard floors
- [ ] Disinfect bathrooms and kitchen surfaces
- [ ] Perform final walkthrough and test appliances/systems
Renovation Cleanup Supplies List
- PPE: N95 masks, safety goggles, heavy-duty work gloves, knee pads.
- Tools: Shop vac, vacuum with HEPA filter, microfiber cloths, tack cloths, squeegee, razor scrapers, plastic putty knives, heavy-duty broom, dustpan.
- Cleaning Products: pH-neutral floor cleaner, stone cleaner, glass cleaner, mild dish soap, grout haze remover, adhesive remover, EPA-registered disinfectant.
- Waste Management: Heavy-duty contractor bags, reusable protective covers.
Ready to Restore Your Home?
Tackling the mess left behind by contractors can feel overwhelming, but breaking it down into a step-by-step timeline makes the process manageable. Ready to tackle your post-renovation cleanup? Copy the checklist above, gather your supplies, and take it one step at a time. If the job feels too big, don’t hesitate to reach out to professional cleaners to get your home back in perfect shape.
Subscribe to our newsletter for more expert home-renovation tips, maintenance guides, and DIY inspiration!