
Natural light transforms a renovated home—making spaces feel larger, boosting mood, and cutting evening lighting needs. Whether you’re planning a full gut renovation or making targeted upgrades, a few thoughtful decisions about window placement, glazing, and interior finishes can dramatically increase daylight without compromising energy efficiency or privacy. When you maximize natural light in your renovated home, you aren’t just improving the aesthetics; you are fundamentally upgrading your daily living experience.
From waking up to gentle morning sun to enjoying golden hour in your living room, the benefits of abundant daylight are both tangible and deeply felt. This guide lays out practical daylighting strategies, budget-friendly options, and design tradeoffs so you can plan a renovation that brightens your home inside and out. We will explore everything from the best windows for natural light to clever interior tricks that bounce sunshine into the darkest corners of your floor plan. You’ll discover how to balance illumination with energy conservation, ensuring your home stays comfortable year-round. Let’s dive into how you can harness the sun to elevate your space.
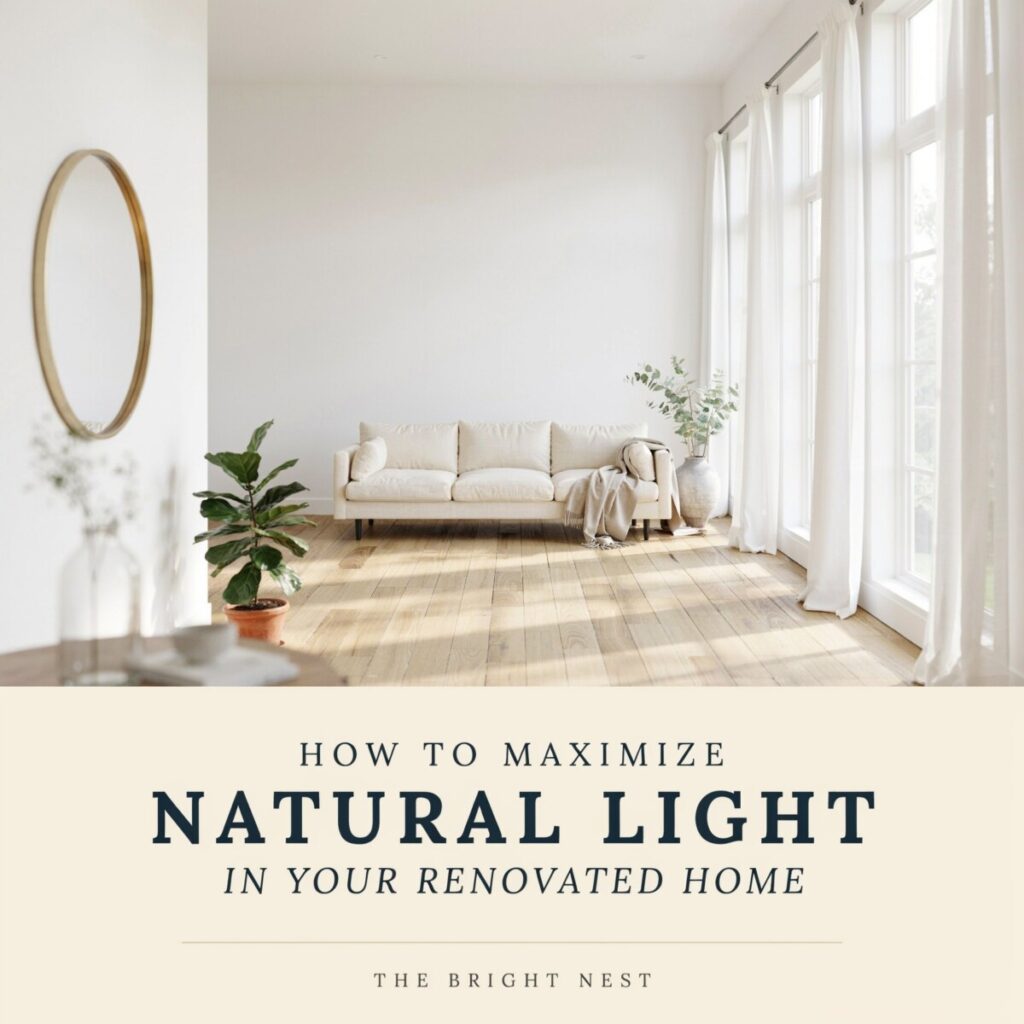
Why You Want to Maximize Natural Light in Your Renovated Home
Before tearing down walls or ordering custom glass, it is essential to understand the profound impact of sunlight on your daily life. The natural light benefits for health are well-documented. Exposure to daylight helps regulate your circadian rhythm, leading to better sleep quality, improved mood, and heightened daytime productivity. In a home office or kitchen, abundant daylight reduces eye strain and creates a more inviting environment for family and guests.
Beyond personal wellbeing, daylighting strategies offer significant energy and resale value benefits. By relying less on artificial lighting during the day, you reduce your electricity consumption. Furthermore, homes flooded with natural light consistently appraise higher and sell faster in the competitive US real estate market. Buyers are naturally drawn to bright, airy spaces that feel welcoming and expansive.
It is also important to understand how daylighting differs from artificial lighting. While lamps and overhead fixtures provide targeted illumination, natural light is dynamic. It shifts in color temperature and intensity throughout the day, creating a living, breathing atmosphere that static bulbs simply cannot replicate. Embracing this dynamic quality is the first step toward a successful renovation.
Plan Early: Orienting Your Renovation for Daylighting
The most effective way to bring more natural light into your home starts before the first hammer swings. Site and orientation basics dictate how sunlight interacts with your property. In the Northern Hemisphere, south-facing windows receive the most consistent, direct sunlight throughout the day, making them ideal for primary living areas. North-facing windows offer soft, diffused light that is perfect for studios or home offices, while east and west orientations capture morning and late-afternoon sun, respectively. Understanding these seasonal sun paths allows you to place rooms where they benefit most from the available light.
Another crucial metric is the window-to-wall ratio (WWR). While it might be tempting to turn an entire exterior wall into glass, building codes and energy efficiency guidelines generally recommend a WWR between 15% and 30% for residential structures. Exceeding this can lead to significant heat loss in winter and excessive heat gain in summer.
This brings us to passive solar lighting and climate-aware design. In colder northern US climates, maximizing southern exposure can passively heat your home, reducing winter utility bills. Conversely, in hot southern states like Texas or Florida, you must carefully balance daylight with overheating. Incorporating deep roof overhangs or deciduous trees can block high summer sun while allowing low winter sun to penetrate, ensuring your home remains comfortable year-round. Consulting with an architect early in the design phase ensures your floor plan aligns with these solar realities, preventing costly adjustments later.
Window Choices That Make the Biggest Difference
Selecting the right fenestration is arguably the most critical decision in your lighting plan. When evaluating the best windows for natural light, consider how different styles operate and frame the view. Casement windows, which crank outward, offer unobstructed views and excellent ventilation. Picture windows are fixed, non-opening panes that provide massive, uninterrupted glass areas—perfect for framing a beautiful backyard. For high walls, clerestory windows are a fantastic option. Placed near the ceiling, they capture ambient light and bounce it deep into the room while maintaining wall space for furniture and privacy.
Equally important are your window glazing options. Modern energy-efficient windows utilize double or triple-pane glass, often filled with insulating argon or krypton gas. Low-emissivity (low-E) coatings are microscopic metallic layers that reflect infrared heat while allowing visible light to pass through. Choosing the right low-E coating allows you to maximize daylight without turning your living room into a greenhouse during the summer.
Proper window placement tips also extend to sizing and grouping. While specific window size recommendations depend on your local building codes and the room’s square footage, a general rule of thumb is that the total glass area should equal at least 10% to 15% of the room’s floor area for adequate daylighting. Rather than one massive window, grouping several smaller windows can create architectural interest and distribute light more evenly. Corner windows wrap around the edge of a room, eliminating dark shadows in the corners and dramatically expanding the perceived volume of the space. Floor-to-ceiling glass doors for light, such as sliding or bi-fold patio doors, blur the line between indoors and outdoors, flooding adjacent rooms with sunshine.
Finally, exterior considerations must not be ignored. The orientation of your windows must be paired with appropriate exterior shading. Deep overhangs, exterior louvers, or strategically planted landscaping can block harsh, direct glare while still permitting ambient, indirect light to filter into your home. Furthermore, consider the frame material. Slim-profile fiberglass or aluminum frames maximize the glass-to-frame ratio, ensuring that you are looking at the view, not the window hardware. By thoughtfully combining these elements, you create a cohesive fenestration strategy that serves both aesthetics and performance.
Skylights, Solar Tubes, and Light Wells: When to Use Each
When exterior walls are limited, or you need to brighten a central hallway, roof-based daylighting strategies become invaluable. The debate of skylights vs solar tubes often comes down to budget, ceiling height, and the desired aesthetic impact.
Traditional skylights are best used in rooms with vaulted ceilings or direct roof access. They provide dramatic, expansive views of the sky and can significantly alter the architecture of a room. Modern skylight installation considerations include opting for venting models that open to release hot, stale air, improving passive ventilation. However, skylights do carry risks; improper flashing can lead to leaks, and without proper glazing or shades, they can introduce unwanted solar heat gain and glare.
For a more budget-friendly and structurally forgiving alternative, tubular skylights (often called solar tubes) are an excellent choice. These devices capture sunlight via a weather-proof dome on the roof and channel it down through a highly reflective tube to a diffuser in the ceiling. They are perfect for brightening interior rooms like windowless bathrooms, walk-in closets, or dark hallways. They take up minimal roof space, have a much lower risk of leaking, and provide a surprisingly intense, even wash of daylight.
In multi-story homes or properties with finished basements, light wells and sun tunnels are essential tools. A light well is an exterior architectural feature—an open shaft that allows sunlight to reach lower-level windows or basement spaces. By excavating a small section of the yard and installing a retaining wall and a large egress window, you can completely transform a subterranean space from a gloomy cellar into a bright, usable living area. Combining these vertical light shafts with interior reflective surfaces ensures that sunshine reaches every level of your renovated home.
Interior Design Choices to Amplify Daylight
Once natural light enters your home, your interior design choices dictate how far it travels. The most effective way to amplify sunshine is through strategic use of color and interior finishes to enhance light. When selecting light-reflecting paint, opt for lighter hues and higher sheens. While flat matte finishes absorb light, eggshell, satin, or semi-gloss paints bounce photons around the room. Painting ceilings a bright, crisp white is a classic trick that draws the eye upward and reflects overhead daylight back down into the living space.
Flooring and furnishings play an equally vital role. Dark hardwood or heavy, charcoal-colored carpets will swallow light. Instead, choose reflective flooring and surfaces such as pale oak, whitewashed floorboards, or large-format light-colored tiles. Pale rugs, mirrored furniture, and acrylic or glass accents help maintain a sense of visual lightness, allowing illumination to pass through or reflect off them effortlessly.
Open-concept lighting and layout strategies are also crucial. Removing non-load-bearing walls between the kitchen, dining, and living areas creates long, uninterrupted sightlines. This allows light entering from a single large window to penetrate deep into the home’s core. Where walls are necessary for structural support or privacy, consider using glass doors for light or interior glass partitions. Frosted or reeded glass provides privacy while still permitting a generous amount of ambient light to filter through.
Finally, never underestimate the power of mirrors. Placing a large mirror on a wall directly opposite or adjacent to a window effectively doubles the amount of natural light in the room and creates the illusion of a much larger space. By treating your interior surfaces as a network of light reflectors, you can dramatically enhance the impact of every window and skylight in your renovation.
Window Treatments, Glare Control, and Privacy
A common dilemma in renovations is balancing the desire for maximum illumination with the need for privacy and comfort. Bare windows offer the most light but can leave you feeling exposed to neighbors or the street. The key is selecting the right window treatments for light diffusion rather than total blockage.
Sheer linen curtains are a designer favorite because they soften harsh direct sunlight, reducing glare while maintaining a bright, airy ambiance. For more functional control, top-down/bottom-up shades are incredibly versatile. You can lower the top half of the shade to let in abundant daylight and sky views while keeping the bottom half closed to shield your living room from passersby. Light-filtering roller blinds and woven wood shades also provide excellent privacy without plunging the room into darkness.
Exterior shading and glare control are equally important, especially for large west-facing windows that catch the intense late-afternoon sun. Exterior roller shades, operable louvered shutters, or architectural awnings intercept the sun’s rays before they even hit the glass, preventing the greenhouse effect inside your home.
For a high-tech approach, smart glass and electrochromic windows are gaining popularity. With the flip of a switch or a voice command, these windows transition from clear to opaque, providing instant privacy without the need for dusty blinds or heavy drapes. While they represent a higher upfront investment, they offer an unparalleled blend of unobstructed daylighting and on-demand privacy, particularly in densely packed urban or suburban environments.
Energy, Cost, and Maintenance Considerations
Flood your home with sunshine, but do not let your utility bills skyrocket. Understanding the energy metrics of your windows is vital. The U-factor measures how well a window prevents heat from escaping; a lower U-factor means better insulation in cold climates. Conversely, the Solar Heat Gain Coefficient (SHGC) measures how much solar radiation enters your home. In hot southern climates, you want a low SHGC to minimize cooling costs, while in colder northern regions, a higher SHGC can provide beneficial passive winter heating.
When planning your budget, it helps to categorize your daylighting strategies into tiers. Low-cost tweaks include trimming exterior foliage, applying light-reflecting paint, and strategically placing mirrors. Mid-range upgrades involve swapping out old, drafty windows for new energy-efficient models or adding a solar tube to a dark hallway. Major structural changes—such as knocking down walls, installing floor-to-ceiling glass, or adding a traditional skylight—require significant investment and professional engineering.
Maintenance is the final piece of the puzzle. To keep your home bright, establish a routine for cleaning both the interior and exterior glass. For skylights, inspect the flashing and seals annually to prevent water intrusion. Motorized or hard-to-reach windows should be checked to ensure their mechanical parts remain lubricated and functional, ensuring your daylighting investments perform flawlessly for decades.
Mini Case Study: Maximizing Natural Light in a Dark Living Room
Consider the transformation of a cramped, 1980s living room in a suburban Chicago home. The room featured only one small, north-facing window, resulting in a gloomy, cave-like atmosphere that required lamps to be on even at noon. The homeowners wanted ways to brighten dark rooms without sacrificing wall space needed for their bookshelves and television.
The renovation solution involved three targeted upgrades. First, the contractor installed two operable clerestory windows high on the south-facing wall, capturing ambient light without compromising privacy or furniture layout. Second, the dark wood paneling was removed and replaced with a warm-white, satin-finish paint. Finally, a 14-inch tubular skylight was routed through the attic to the center of the ceiling.
The impact was immediate and measurable. The room felt visually twice as large, and the homeowners reported a 40% drop in daytime artificial lighting usage. The total project cost was approximately $6,500, a modest investment that drastically improved their daily enjoyment of the home and significantly boosted its appeal for future resale.
Renovation Checklist to Maximize Daylight
- [ ] Assess your home’s orientation and map the seasonal sun paths across your property.
- [ ] Evaluate your window-to-wall ratio to balance natural light with energy efficiency.
- [ ] Upgrade to energy-efficient windows with appropriate low-E coatings for your specific climate zone.
- [ ] Incorporate clerestory windows or transoms above doors to bounce light deep into interior rooms.
- [ ] Install tubular skylights in windowless bathrooms, closets, or dark central hallways.
- [ ] Choose light-reflecting paint colors and utilize higher sheens (satin or semi-gloss) on trim and ceilings.
- [ ] Select reflective flooring and surfaces, such as pale woods or light-colored tiles.
- [ ] Use mirrors strategically on walls opposite or adjacent to primary windows.
- [ ] Remove non-load-bearing walls to create open sightlines for uninterrupted light flow.
- [ ] Select light-filtering window treatments, like sheer curtains or top-down shades, to manage glare and privacy.
- [ ] Schedule annual maintenance to clean glass, inspect skylight flashing, and check weatherstripping.
Conclusion and Next Steps
Bringing the outdoors in is one of the most rewarding aspects of modern home design. By thoughtfully considering orientation, selecting the right fenestration, and utilizing smart interior finishes, you can completely change the atmosphere of your living spaces. When you maximize natural light in your renovated home, you are investing in your health, lowering your energy footprint, and creating a vibrant sanctuary that feels open and inviting.
Every home and climate zone presents unique challenges, so it is always wise to consult with a local architect or window specialist who understands your regional building codes and solar conditions. Ready to start planning? Download our printable daylighting checklist or schedule a consultation with a licensed contractor to explore which of these bright ideas will work best for your floor plan. Let the sunshine in!
