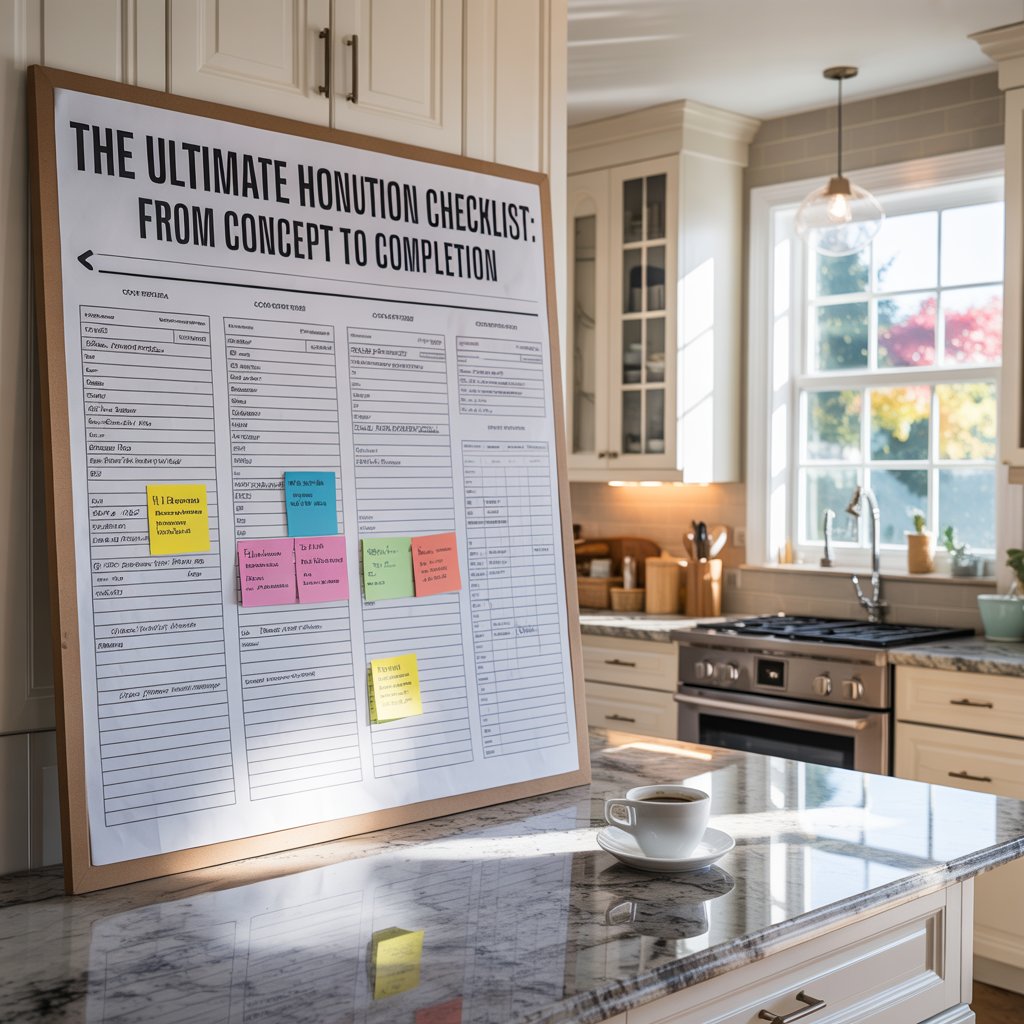
Have you ever stood in your home, envisioning dramatic changes but feeling completely overwhelmed by where to begin? You’re not alone. As an interior designer specializing in home transformations across the United States, I’ve guided hundreds of clients through the emotional rollercoaster of renovation. What separates successful projects from nightmare stories isn’t just budget—it’s preparation.
This comprehensive guide cuts through the renovation noise with actionable steps I’ve refined over 12 years in the industry. Forget generic advice; this home renovation checklist delivers the insider knowledge typically reserved for high-end clients. Whether you’re planning a kitchen remodel, bathroom renovation, or whole-home transformation, proper planning prevents poor performance—especially when it comes to your home’s biggest investment.

Pre-Renovation Planning: Your Foundation for Success
Before you pick out cabinet hardware or tile samples, you must establish your renovation’s backbone: budget, timeline, and non-negotiables. Start by honestly assessing what you can afford versus what you want. Many clients make the critical mistake of falling in love with dream features without verifying their budget reality. Set a firm budget that includes a 15-20% contingency for unexpected discoveries—trust me, wall cavities often hide surprises.
Create a detailed project scope document that lists every element you’re changing. Are you moving walls? Upgrading electrical? Adding square footage? This document becomes your North Star when decisions get overwhelming. As Jennifer Gardner of Jennifer Gardner Design emphasizes: “Be clear about who is handling each action item and list a deadline for completion.” This clarity prevents costly miscommunications later.
PRO TIP: Photograph every room you’re renovating from multiple angles before demolition begins. These “before” pictures serve as legal documentation if contractors damage existing features not included in your scope. I’ve seen $10,000 disputes resolved with a single timestamped iPhone photo.
Your non-negotiables—the elements you absolutely must have—should drive your design process. Is it heated bathroom floors? A walk-in pantry? A dedicated home office? Rank these features from “must-have” to “nice-to-have” to guide decision-making when budget constraints hit. Remember, every homeowner has unique dreams for their space; your renovation should honor your lifestyle, not Pinterest trends.
Assembling Your Dream Team: Contractors, Designers & Architects
The quality of your renovation team directly impacts your project’s outcome more than any design choice. Start researching contractors six months before your target start date. Verify licenses, insurance, and workers’ compensation coverage—not just for the main contractor but every subcontractor. In states like California and Texas, unlicensed work voids your homeowner’s insurance for that remodel.
Schedule in-person consultations with at least three firms. Bring your scope document and budget parameters; experienced contractors will ask thoughtful questions about your lifestyle rather than immediately quoting prices. Watch for red flags: contractors who demand large down payments, refuse written contracts, or claim they don’t need permits for structural work. I recommend Ranney Blair’s advice from their whole home remodel guide: “Speak with designers, architects, and whole home remodelers to refine your ideas and ensure feasibility.” A design-build team often streamlines communication.
PRO TIP: Ask potential contractors: “What’s the most challenging renovation you’ve completed, and how did you handle it?” Their answer reveals problem-solving skills more than portfolio pictures. Watch if they blame past clients (“The homeowner kept changing their mind”) versus taking ownership (“We improved our change order process after that project”).
For interior design expertise, consider whether you need a full-service designer or consultation-only help. Complex structural changes warrant involvement from the planning phase, while cosmetic updates might only need color consultations. According to Livspace’s interior design process, “Space planning and layouts” should come before material selection—a sequence many DIYers reverse with costly consequences.
| Team Role | Key Responsibilities | Critical Questions to Ask |
|---|---|---|
| General Contractor | Project management, scheduling, subcontractor coordination | “How do you handle change orders and delays?” |
| Interior Designer | Space planning, material selection, color schemes | “Can you provide a design timeline aligned with construction?” |
| Architect | Structural plans, code compliance, permitting | “How do you collaborate with contractors during construction?” |
| Specialty Subcontractors | Electrical, plumbing, HVAC upgrades | “Are you bonded for warranty work beyond project completion?” |
Design & Space Planning: Creating Flow and Function
Your floor plan determines daily comfort more than any finish selection. Start with a “must-keep” list of existing elements—maybe that south-facing window or original hardwood floor. Then, diagram how you move through the space during typical days. Do you brew coffee before checking emails? Does your family gather in the kitchen while dinner cooks? These patterns should inform your layout.
Focus on traffic flow width: 36 inches minimum between furniture pieces, 42 inches for two people to comfortably pass. In kitchens, maintain the “work triangle” concept (8-12 ft total between sink, stove, fridge) but adapt for modern multi-cook households. Livspace’s interior design checklist correctly identifies “Space planning and layouts” as step six in their process—after establishing style but before material selection.
PRO TIP: Use blue painter’s tape to map new layouts on existing floors before demolition. Live with these taped boundaries for 48 hours to test functionality. Many clients discover their “perfect Pinterest layout” creates awkward bottlenecks in real life.
Lighting design happens in layers: ambient (overall room illumination), task (under-cabinet kitchen lighting, vanity mirrors), and accent (highlighting artwork or architectural features). Too many renovations skimp on task lighting, then install glaring overhead fixtures. Aim for 3-4 lighting circuits per room. As Decorilla notes regarding home offices: “The design choices can have far-reaching effects” on productivity and comfort, especially with hybrid work becoming standard.
Essential Design Questions Checklist:
- Where does natural light enter at different times of day?
- How many electrical outlets will this layout require? (Average: 1 per 4 linear feet of wall)
- Will this floor plan accommodate aging in place? (Consider door widths and shower access)
- How will storage needs evolve over the next 5 years?
- What noise considerations exist between rooms?
Material & Finish Selection: Making Choices That Last
Material selection overwhelms most homeowners because it feels like the “fun part” but requires serious decision-making frameworks. Create a mood board with actual physical swatches, not just digital images. Lighting dramatically affects how colors and textures read—what looks warm in a showroom may feel cold in your north-facing living room.
Prioritize durability hierarchy: floors > countertops > backsplashes > paint. Invest most in surfaces with the hardest use. For kitchens, quartz countertops offer better longevity than marble for most households. In bathrooms, porcelain tile mimics natural stone without the maintenance hassle. Remember Sweeten’s fundamental advice from their renovation checklist: “Assess your budget – make sure you know what you want to spend and what you have budgeted for the project” before falling in love with imported Italian tile.
PRO TIP: Get “as-built samples”—actual pieces cut from the slabs or batches that will be installed in your home. Marmara White quartz has significantly different veining patterns between batches; seeing yours prevents unpleasant surprises during installation.
Your color palette should establish a rhythm throughout connected spaces. Follow the 60-30-10 rule: 60% dominant color (walls, floors), 30% secondary (cabinetry, large furniture), 10% accent (pillows, artwork). For open floor plans, maintain neutral dominant colors with varied textures to differentiate spaces without visual chaos.
| Room | Recommended Color Strategy | Common Pitfalls to Avoid |
|---|---|---|
| Kitchen | Cool neutrals for cabinets (allows warmer accent walls) | Overusing warm tones creating “cave effect” |
| Living Room | Earth tones with varied textures for depth | Monochromatic schemes lacking contrast |
| Bathroom | Light colors to enhance small space feel | Dark grout showing mildew quickly |
| Home Office | Blue-based neutrals for focus | Yellow-tinged whites causing eye strain |
Navigating Construction: The Reality Behind Renovation
Demolition week will test your patience—dust invades every crevice, unexpected structural issues emerge, and your daily routine shatters. Prepare by setting up a temporary kitchen in an unused room with a microwave, mini-fridge, and instant pot. The Sweeten renovation checklist wisely notes that “where you start” determines your mental preparedness for this chaotic phase.
Establish clear communication protocols with your contractor: daily 15-minute huddles at the job site, not text marathons. Use a shared project management app like CoConstruct or Buildertrend for photo documentation and change orders. Every contractor I respect tells clients: “If it’s not in writing, it doesn’t exist.” Verbal agreements about adding a pantry mid-reno become major disputes without formal change orders.
PRO TIP: Designate one household member as the sole decision-maker to avoid the “my husband wants white cabinets but I prefer navy” dilemma that stalls progress. Relationships strain during renovations; clear authority prevents contractor paralysis.
For multi-month projects, schedule “rest days” every six weeks where no work happens. This mental break prevents renovation fatigue and gives you perspective before major decisions. Most importantly, understand construction sequencing: framing before electrical, electrical before insulation, drywall before finishes. Rushing stages (“Can’t we just install the vanity now?”) creates expensive rework.
Critical Construction Phase Checkpoints:
- Rough-in inspection (before drywall covers wires/pipes)
- Window/door installation verification (check for plumb and square)
- Waterproofing membrane application validation (bathrooms/wet areas)
- Countertop template appointment (after cabinets installed but before flooring)
- Final walkthrough with contractor (document every punch list item)
Final Touches: Quality Control & Your Dream Home Reveal
The finish phase—painting, hardware installation, fixture mounting—is where character emerges. Most homeowners rush this stage, but details define luxury. Insist on painters removing all outlet covers, light switch plates, and door hardware for crisp lines. Caulk should be applied with a wet finger for professional results; ask your painter about their technique.
Conduct a systematic punch list walkthrough room-by-room with your contractor. Start from the ceiling (check crown molding seams), move to walls (paint flaws, drywall joints), then floors (gaps, transitions), and finally fixtures. Document issues with dated photos linking to your contract’s warranty clause. Jennifer Gardner’s approach recommends signing up for her Renovation Blueprint which provides monthly tips for this critical phase.
PRO TIP: Test every light switch, outlet, and fixture with a circuit tester—not just flipping switches. I’ve found “hot” neutrals (dangerous electrical faults) during final inspections that looked fully functional but posed fire hazards.
Your final walkthrough should include operational training: how to maintain new surfaces, where shutoff valves live, smart home system instructions. Many homeowners skip this, then call contractors months later for basic troubleshooting their warranty doesn’t cover. As your designer, I’ll coordinate your “design finish kit”—extra paint, tile samples, fabric swatches—so future repairs blend seamlessly.
Conclusion: Your Home Transformation Journey
Renovating your home shouldn’t feel like navigating a minefield. With this ultimate home renovation checklist, you’ve gained the framework professionals use to deliver beautiful, functional spaces on time and within budget. Remember that your home’s transformation reflects your personal journey—every tile choice and paint color tells your unique story.
The statistics speak for themselves: homes with well-planned renovations see 80-100% return on investment for key areas like kitchens and bathrooms, while poorly executed projects can actually decrease property value. By following these proven steps—from gathering inspiration on Pinterest and Houzz to meticulous final inspections—you’re investing in more than just square footage; you’re crafting spaces where memories will unfold for years.
As you stand in your newly transformed home, that initial overwhelm will transform into pride and joy. Your carefully curated spaces won’t just look beautiful; they’ll function perfectly for your life. That’s the true magic of thoughtful renovation—a home that doesn’t just house you, but truly lives with you. Now, take that first step: print this checklist, grab your measuring tape, and let’s build the home you deserve.
